

Ever feel like store-bought cards just don’t quite capture what I truly want to say to my significant other? I know I do. It’s hard to find something off the shelf that perfectly expresses all the unique feelings, inside jokes, and cherished memories that make my relationship so special. That’s why I’ve fallen in love with the idea of creating a truly special DIY card gift for a significant other.
I understand that the thought of crafting might feel a little daunting, especially if I don’t consider myself naturally “crafty.” But trust me, anyone can create something wonderful and heartfelt, regardless of their artistic experience. My joy is in trying, sharing that process, and saying: if I can figure this out, so can you. I’m here to walk you through everything you need to craft the perfect handmade token of affection, from gathering supplies to writing that perfect message.
TABLE OF CONTENTS
Why a DIY Card Gift for Your Significant Other is Truly Special
I truly believe a handmade card holds a profound sentimental value that a store-bought one simply can’t match. When I dedicate my time and effort to creating a DIY card gift for a significant other, I’m pouring my feelings directly into it. It’s not just paper and glue; it’s a tangible piece of my heart, shaped by my own hands and filled with my unique thoughts.
This kind of gift speaks volumes about dedication, understanding, and love in a way money can’t buy. It shows that I’ve taken the time to think specifically about my partner and what makes them smile. The personal touch transforms a simple card into an incredibly meaningful keepsake, cherished far beyond its material value. It’s a true reflection of the care I have for them.
Essential Supplies for Your Heartfelt DIY Card Gift
Getting started with a DIY card gift for a significant other doesn’t require an overwhelming amount of supplies. I like to keep things simple, especially for beginners. Here’s a comprehensive list of what you’ll need to begin crafting your heartfelt token:
- Paper & Cardstock: I recommend a variety of weights, colors, and textures. Heavier cardstock (65lb to 110lb) is great for the card base, while lighter decorative papers can be used for layering.
- Cutting Tools: A good pair of sharp scissors is a must. For more intricate cuts, a craft knife and a self-healing cutting mat are incredibly useful.
- Adhesives: I always keep a glue stick for large areas, liquid glue for smaller embellishments, and double-sided tape for a clean, strong bond on hand.
- Decorative Elements: This is where the fun really begins! Think stickers, rubber stamps, pretty ribbons, glitter (use sparingly!), Washi tape, and small embellishments like buttons or sequins.
- Writing Tools: A selection of pens, such as gel pens, fine-liner pens, or metallic markers, can make your message truly pop.
- Optional Enhancements: A ruler is essential for straight lines. A bone folder is fantastic for creating crisp, professional-looking creases in cardstock. A hole punch can be great for adding tags or ribbon details.
Pro Tip: I always recommend a good bone folder for crisp creases – it’s a game-changer! It instantly makes my cards look much more polished and professional, even with minimal effort.
Creative DIY Card Gift Ideas for Your Significant Other
This is where my imagination really gets to shine when crafting a truly unique DIY card gift for a significant other. I love brainstorming ways to make each card speak directly to my partner. Here are some of my favorite ideas:
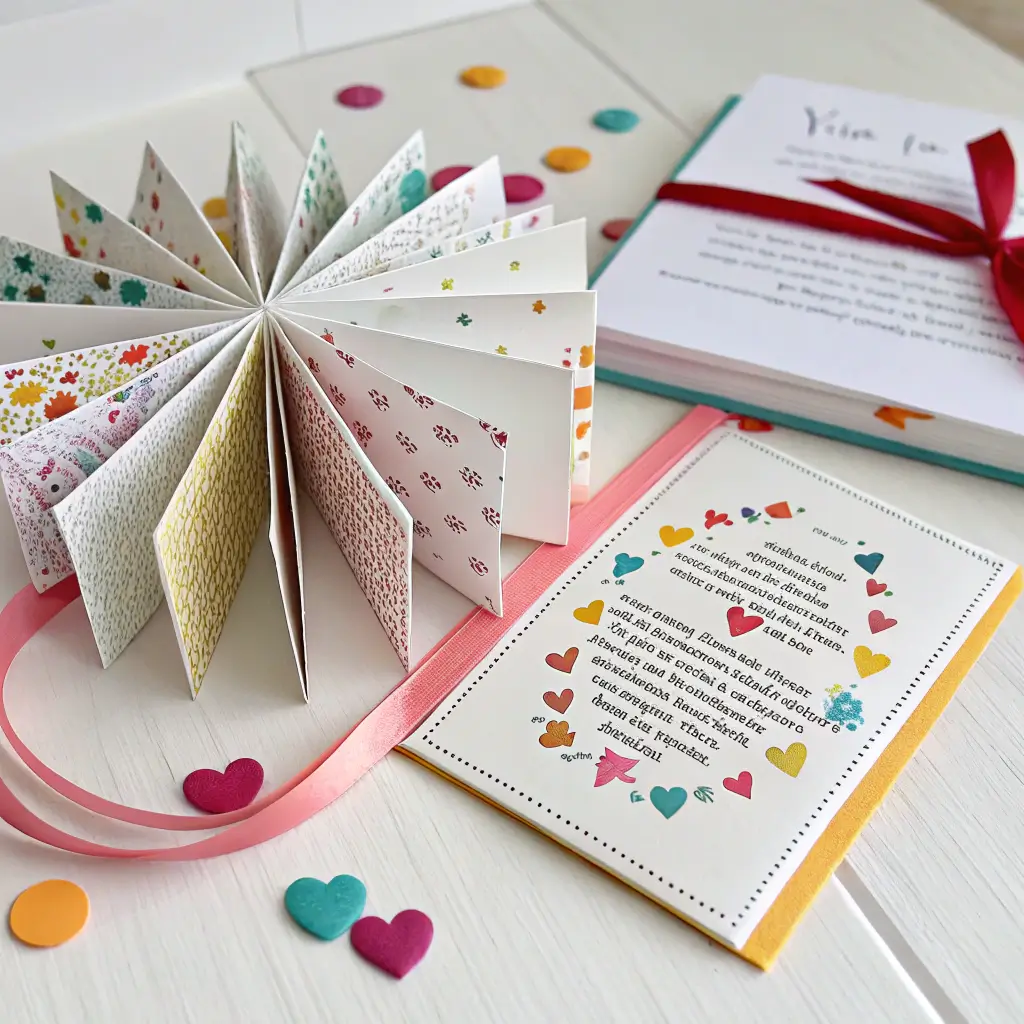
The “Reasons Why I Love You” Card
This concept is so endearing and deeply personal. I create a card that holds multiple small notes, each one detailing a specific reason why I adore my significant other. I’ve done versions with 10 reasons, 52 (one for each week of the year), or even 100 for a really grand gesture.
- What makes it special: It’s a deeply personal and affirming gift that constantly reminds them of their value to me.
- How to approach: I might create a mini-booklet where each page reveals a reason. Alternatively, I’ve used an accordion fold with reasons on each panel, or even made small pockets within a larger card to tuck individual slips of paper into.
Personalized “Experience Vouchers” or “Coupon Book”
I love taking the idea of a simple gift certificate and transforming it into a personal, heartfelt DIY card gift. This allows me to create a custom book of redeemable “coupons” tailored specifically to my relationship and my partner’s preferences. It’s incredibly thoughtful and offers gifts of time and attention.
- What makes it special: It’s customizable, offers future experiences, and shows I know what they truly enjoy.
- How to approach: I design individual “coupons” that can be torn or cut out, then bind them together with ribbon or staples.
Here are some voucher ideas I’ve used:
| Category | Voucher Idea |
|---|---|
| Pampering | One back massage |
| Foot rub after a long day | |
| Breakfast in bed | |
| Experiences | A movie night of your choice (my treat!) |
| Favorite home-cooked meal | |
| Surprise date night | |
| Everyday Favors | A chore-free day |
| Remote control for an entire evening | |
| Help with a dreaded task (e.g., laundry) |
“Open When…” Cards
This is such a touching idea. I create a collection of cards, each sealed in its own envelope and labeled with a specific emotional moment. For instance, I’ve made “Open when you miss me,” “Open when you need a laugh,” “Open when you’re feeling down,” or “Open when you need encouragement.”
- What makes it special: It provides ongoing comfort, joy, or support, letting my partner know I’m thinking of them even when I’m not physically there.
- How to approach: For content, I might write a silly joke for “need a laugh,” a comforting message for “feeling down,” or a sweet memory for “miss me.” I sometimes decorate each envelope with a simple, relevant doodle or color scheme.
The “Memory Lane” Card & Mini Photo Album
Incorporating shared memories and cherished photos creates a deeply sentimental DIY card gift for a significant other. It’s like taking a small journey through our relationship.
- What makes it special: It’s a tangible timeline of special moments, evoking nostalgia and reinforcing shared history.
- How to approach: I might design a multi-fold card where each panel reveals a photo and a short, handwritten anecdote about that moment. Another option is to create a small, attached accordion-style photo album that pulls out from within the card.
Interactive & Pop-Up Card Designs
I love adding a playful touch to my cards, and simple interactive elements are perfect for this. When creating a DIY card gift for a significant other, I aim for engaging but beginner-friendly designs.
- What makes it special: The unexpected movement or reveal adds an element of surprise and delight.
- How to approach: I focus on one or two simple interactive features. Easy pop-ups, like a heart that springs forward when the card opens, are great. I’ve also experimented with pull-tabs that reveal a hidden message or even spinning elements for a touch of whimsy.
Hand-Stitched or Embossed Cards
For a more artisanal and tactile feel, I sometimes incorporate hand-stitching or embossing. These techniques elevate the card’s look and feel, showcasing an extra layer of effort.
- What makes it special: They add a unique texture and a sophisticated, handcrafted touch that stands out.
- How to approach: For beginners, I suggest simple patterns, like a stitched heart, initials, or a border. Embossing can be done using stencils and a stylus, creating a raised design that’s subtle yet elegant.
Bringing Your DIY Card Gift to Life: Essential Crafting Techniques
Moving from ideas to a physical DIY card gift for a significant other involves a few basic crafting techniques. I always tell myself to be patient; practice makes everything smoother.
- Layering Paper for Dimension: To add depth, I cut different colored or textured papers slightly smaller than each other and stack them. This creates a lovely framed effect and makes the card feel more substantial.
- Neat Cutting and Trimming Tips: Sharp scissors are paramount. When using a craft knife, I always use a ruler as a guide and cut on a self-healing mat. Multiple light passes are better than trying to cut through thick cardstock in one go.
- Different Folding Methods: For a standard card, a simple bi-fold is easy. For “Reasons Why I Love You” or “Memory Lane” cards, an accordion fold works well. I ensure my creases are crisp using my bone folder for a professional finish.
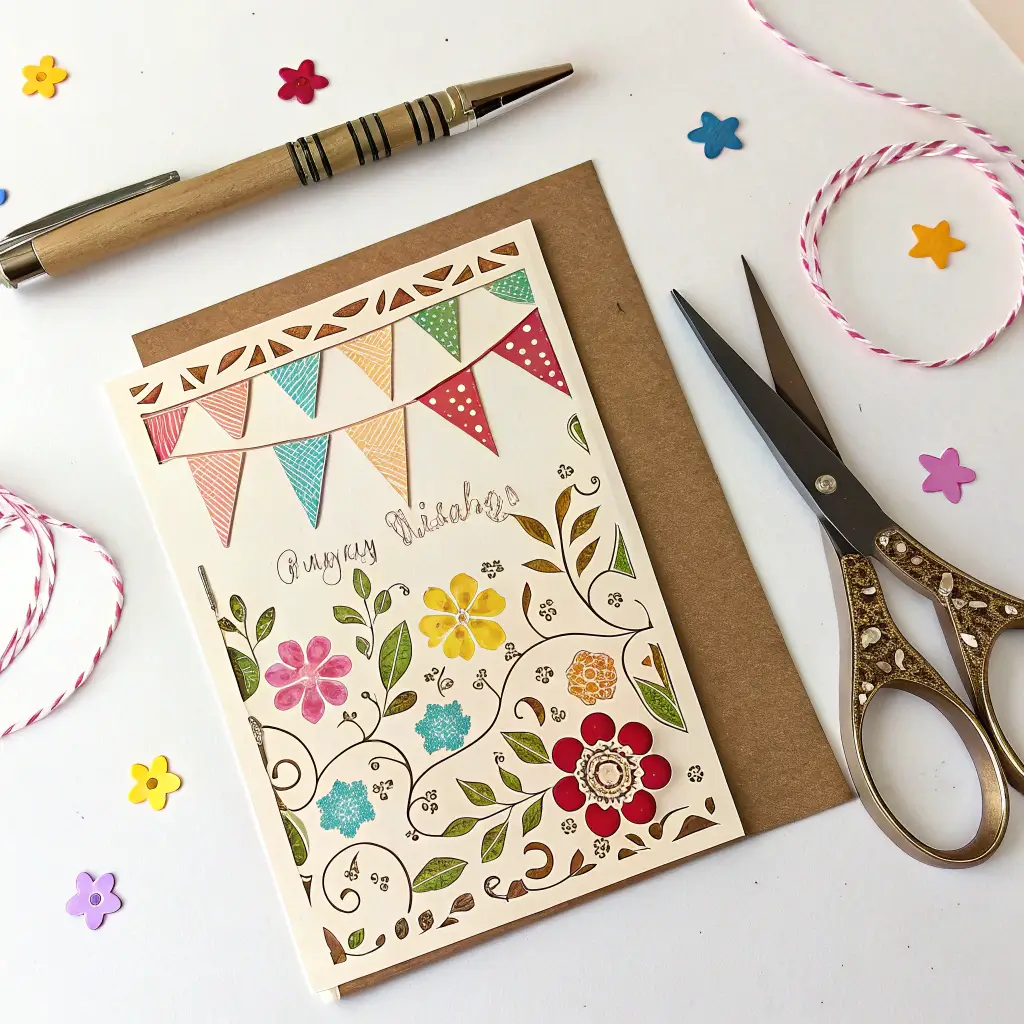
- Simple Embellishment Ideas: Stamps, glitter, ribbons, and even small dried flowers can add beauty. I plan where my embellishments will go before sticking them down. A tiny bit of glitter can be charming, but I try not to go overboard!
- Effective Use of Adhesives: To avoid wrinkles or messy finishes, I apply glue evenly and sparingly. For paper, a glue stick is great. For small, heavier embellishments, I use a liquid craft glue that dries clear. Double-sided tape is fantastic for clean, flat layers.
Making It Uniquely Theirs: Personalizing Your DIY Card Gift
The magic of a DIY card gift for a significant other truly lies in how uniquely I can tailor it to them. This is where I pour in my knowledge of my partner, making the card genuinely one-of-a-kind.
I think about their personality, their interests, and our shared relationship moments. I might incorporate their favorite colors or use an inside joke that only we understand. Including meaningful quotes from their favorite song or lyrics from “our” song adds a very personal touch. Referencing special dates, like our first date or the day we met, can be incredibly sweet. I also consider designing the card around a hobby they love, such as hiking, reading, or playing music. This personalization shows I truly see and appreciate them.
Crafting the Perfect Message for Your DIY Card Gift
This is often the part where people get stuck, but for a DIY card gift for a significant other, the message is paramount. I always aim for something heartfelt, authentic, and impactful.
I find it helpful to start by reminiscing about a cherished memory we share; it sets a warm, personal tone. Then, I express gratitude for specific actions or qualities I love about them, like “I appreciate how you always make me laugh,” or “Your patience truly inspires me.” I also make sure to share what I love most about them, whether it’s their kindness, their strength, or their adventurous spirit. Finally, conveying my hopes and dreams for our future together adds a beautiful layer of intimacy.
Writer’s Block Buster: Don’t aim for perfection, aim for honesty. Your genuine feelings are always the best words. I remind myself that my authentic voice is far more valuable than perfectly polished prose.
The Grand Reveal: Presenting Your DIY Card Gift
Creating a DIY card gift for a significant other is only half the fun; presenting it can be just as special and memorable. I like to think about how and when to give the card to enhance its emotional impact.
Sometimes, I pair it with another small, thoughtful gift, like their favorite coffee or a handmade treat. Other times, I choose a quiet, intimate moment, perhaps during a special meal we’ve cooked together, or simply while we’re relaxing at home. The goal is to create a cherished memory around the act of giving, turning the card presentation into a moment they’ll remember.
Beginner-Friendly Tips for Your First DIY Card Gift Project
I know starting a new crafting project can feel a little intimidating, especially if it’s your first DIY card gift for a significant other. But I promise, it’s more about the thought than perfection!
My best advice is to start simple. Pick one of the less complex ideas I’ve shared, like a basic “Reasons Why I Love You” card. Don’t strive for flawless execution; remember, the handmade charm is part of its appeal. Use readily available materials you might already have around the house, or just pick up a few inexpensive items. Most importantly, embrace the process of creation. Reassure yourself that the effort and genuine thought you put into the gift mean far more than perfectly straight lines or professional-grade embellishments. Enjoy the journey of making something wonderful with your own hands.
Frequently Asked Questions About DIY Card Gifts
How long does it typically take to make a thoughtful DIY card gift?
It really depends on the complexity! For a simple card with a few embellishments, I can usually put one together in about 30 minutes to an hour. More intricate designs, like a pop-up card or a “Memory Lane” album, might take me 2-4 hours, especially if I’m really lost in the process. I always budget extra time for writing the message.
What if I’m not naturally “crafty” or artistic?
That’s perfectly okay! I’m certainly no professional artist. The beauty of a DIY card gift for a significant other isn’t in its artistic perfection, but in the personal effort and love you pour into it. Simple designs, using pre-made stickers, Washi tape, or just layering colorful paper, can look incredibly charming. Your sincerity will shine through, regardless of your crafting skill level.
Are DIY card gifts appropriate for all occasions (birthdays, anniversaries, just because)?
Absolutely! I think handmade cards are perfect for any occasion. Birthdays, anniversaries, Valentine’s Day, or “just because” moments all feel more special with a personal touch. A DIY card gift for a significant other shows you’re thinking of them, and that’s always appreciated.
How can I make sure my DIY card looks polished and not messy?
My top tips for a polished look are using a bone folder for crisp creases, sharp scissors for clean edges, and being mindful with adhesives. I always apply glue evenly and sparingly to avoid lumps or wrinkles. Also, less is often more with embellishments; a few well-placed details can make a bigger impact than overcrowding the card.
Your Journey to a Heartfelt DIY Card Gift Starts Now!
I hope I’ve inspired you to see the incredible power and meaning behind creating a DIY card gift for a significant other. There’s a unique joy and a deep sense of connection that comes from crafting something with my own hands, infused with love and intention. It’s truly an experience that enriches both the giver and the receiver.
So, I encourage you, take the plunge! Gather your supplies, choose an idea that resonates with you, and start creating something beautiful and memorable for your partner. I can’t wait to hear about what you make. Please share your ideas, ask any questions you might have, or comment on your own experiences with handmade gifts in the comments below. Let’s figure this out together!